If yes, it's time to put on your apron and get baking creative today! For those of you who don't know, the drip or dripping cake is all about using one of two techniques to create a dripping icing effect on your cake. Sounds exciting? Try it out for yourself with our recipe guide.
In this section we'll focus on preparing your cake base before adding the drip icing. The beauty of this type of cake is you can bake any version so long as you cover it with buttercream icing and use a ganache for your drip.
What you'll need
Baked cake rounds (of even size)
buttercream icing
piping bag (optional)
butter knife/cake spatula
bowl of hot water
Cake stand that you can turn easily
Method
Your baked cake rounds should be completely cooled down before you start. This prevents your icing from sliding off your cake.
To get the height you want, stack each round on top of each other. The taller your stack, the longer your drip will be. Then place the stack on your cake stand.
Warm a bowl of water and set aside.
Prepare your buttercream icing. Check out Cupcake Jemma's recipe if you are making your own.
To begin icing the cake, place your butter knife/cake spatula in the warm water for about five seconds before each spread. This helps to prevent the icing from sticking to the butter knife/cake spatula.
First, start icing between your cake round layers. Here you should apply a thicker amount to help keep the rounds in place.
Finish your icing by applying a smooth outer layer. You can achieve this by gently turning the cake stand as you spread. To help beginners watch Cupcake Jemma's buttercream icing technique.
When you are finished, leave the iced cake to set in the refrigerator for minimum 30 minutes before starting on the next section.
Once your iced cake is chilled enough, it's time to make your ganache drip icing. This type of icing is needed as it provides the perfect consistency for the drip. This section will first discuss the ganache followed by a step-by-step tutorial for the drip technique.
What you'll need
Chocolate or white milk chocolate
Heavy pouring Cream
Food colouring if using milk chocolate
Whisk
bowl
Spoon or squeeze bottle
Butterknife/cake spatula
A chilled iced cake
Cake stand that can turn easily
Cake toppings/decorations (optional)
For Ganache method
Make your ganache by pouring warm cream over chocolate, whisk together until you have a smooth texture. You can use a microwave for 30 second intervals or stove top until the chocolate has melted. To determine the quantity use one part cream to one part chocolate/ two parts white milk chocolate. Add your preferred food colouring at the end, this keeps the ganache consistency smooth. You can start with one drop of food colouring and mix with further drops if required. By keeping your food colouring amount less you have more control over the colour of your dripping cake.
For Drip Technique Method
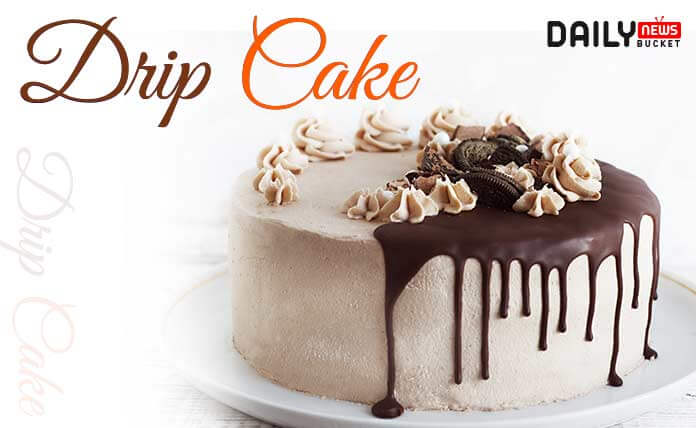
Dripping Cake Image
Allow the ganache to reach room temperature. If it cools down too quickly, you can heat it up again so long as you return it to room temperature. This can be done in the microwave for 10 second intervals or on a stove top. Always keep in mind it needs to be properly whisked and at a consistency that is neither too runny nor too solid.
Next, choose either a spoon or squeeze bottle for your drip application.
If you choose a spoon, then you'll need to place your ganache in a container that allows you to easily dip the spoon in and wipe the back on the edge. This helps to control any extra ganache which will cause an uneven drip. Next, tilt the spoon vertically and move it at a steady pace around the top edge of the cake, as you turn it. It's better to start at the edge as you have more control. For a good example watch Minh Cakes spoon method technique.
If you choose a squeeze bottle, fill it with your ganache. Next, position your cake so you can easily turn it as you work. Begin gently squeezing your bottle at a steady pace above the top edge of the cake. Work your way around or stop halfway, it's totally up to the decorative effect you are wanting to achieve. For a good example watch Cake by Courtney squeeze bottle method. Tips: small squeeze bottles can usually be found in your local store or for order online. If you have leftover ganache icing in your squeeze bottle, you can place it in your fridge to use for next time.
Remember: before you begin dripping best is to do a practice round to get your technique right. You can do this on an upside-down circular container that has an edge close to the shape of your cake.
Once your drip is set and you are happy, you can choose to fill the top of your cake with ganache and decorations. If you choose to fill in the top of your cake, make sure your ganache is at the right temperature. Use your butter knife/cake spatula and begin gently spreading the ganache from the center to just before the edge of your cake top. The slower you do this the better as you want to prevent any excess ganache from dripping over the edge.
Finally, add decorations to the top and sides of your cake. It's your choice. Enjoy!
I hope this article about the dripping cake challenge will inspire you to forget all your covid-19 anxiety and do something fun in the kitchen. If you have any queries regarding the recipes or method please don't hesitate to send a message. If you are proud of your work please do share with us on our social media channels too. Good luck!